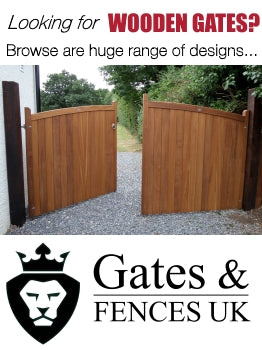
Sliding gates are becoming more and more popular, not only can they look better, but for some, they are the only option to enabling the use of a shorter drive. We offer a range of different designs and opening solutions based on customer specifications.
As standard, our sliding gates will arrive to your property in two sections that are simply bolted together. One section will look like a single leaf gate with the other side including the overhang section required to hold the gate upright. All bolts will be supplied with the gate and all holes prepped ready to bolt together.
Example of Sliding Gate:

Unless your existing wall/ fence is lower than the gate height, the "overhang" part of the gate will only be visible from the inside of the driveway. It is an essential part of the gate as its purpose is to hold the gate upright. Unlike others, we follow the majority of the design over to the overhang section - instead of having what looks like an ugly fitted extension.
Important point to consider: The gate can slide open in either direction depending on which side has the space required. However, if you have an opening between the posts/ pillars of 3m 200mm, you would need a clearance area of 4m to the side to allow to open fully.


1) Track System: Ideally placed on a level drive. Track needs to be width of opening x 2 (plus overhang). For example, if the opening width is 3m 200mm with an 800mm overhang, the track would need to be 7m 200mm - (3m 200mm x 2 + 800mm = 7m 200mm). With this system, two posts need to be fitted, the one shown below on the left has a catch that supports the gate when closed. The one positioned on the right has the bracket where the nylon rollers will sit. (Please note: The gate can be opened to the right or left depending on your specific ground clearance, therefore, the image below would be flipped). To support the gate upright and enable it to slide, a horizontal "L" rail is bolted to the gate - usually where the design of the gate has a horizontal length. This will then help hide the rail when looking at the gate from the front.

2) Cantilever Systems: Great system if drive is sloped. A open box tube is bolted to the underneath of the gate to allow the two cantilever roller guides to connect to. This is used instead of fitting a track on the ground. Two posts need to be fitted, the one shown below on the left has a catch that supports the gate when closed. The one positioned on the right has the bracket where the nylon rollers will sit. (Please note: The gate can be opened to the right or left depending on your specific ground clearance, therefore, the image below would be flipped). To support the gate upright and enable it to slide, a horizontal "L" rail is bolted to the gate - usually where the design of the gate has a horizontal length. This will then help hide the rail when looking at the gate from the front.