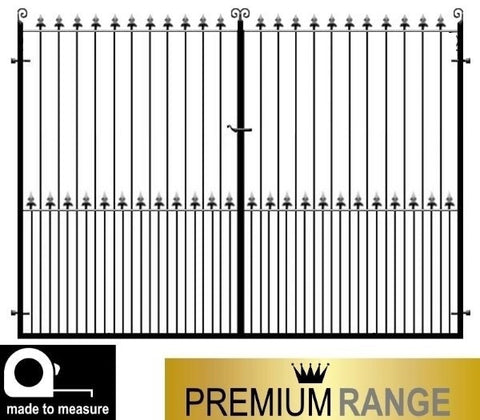


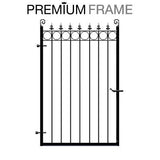
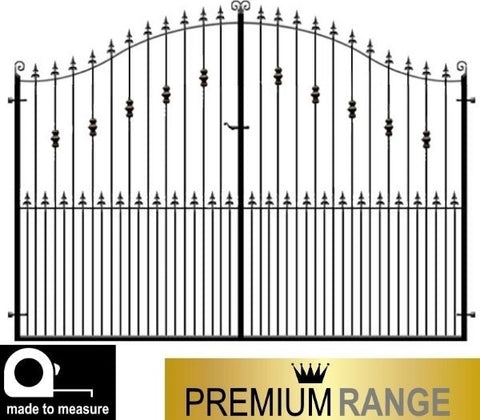
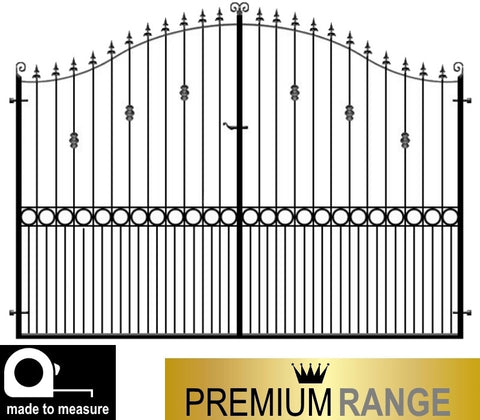
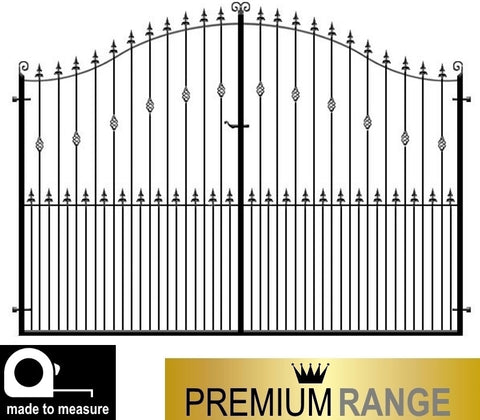
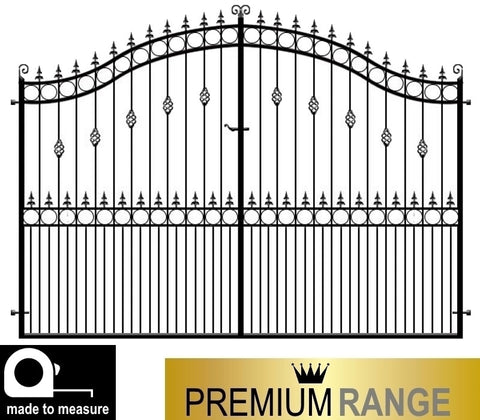
Manufactured by hand in the UK by skilled craftsmen using the finest materials to provide ultimate durability and quality. This design is constructed using our Premium Frame, which includes chunkier 40mm x 40mm side and bottom rail and thicker 16mm diameter infill bars resulting in a much sturdier and higher quality appearance gate. All of our gates come complete with a 10 year workmanship guarantee, adjustable hinges, latch, 2 x drop bolts and can be fully galvanized to add a 25 year protection from rust with an option of painting black or any RAL colour.
Width of Gate: Taken as if both sides were touching each other. For example, a width the drop down menu of 10ft (3m 048mm) would be 2 x 5ft wide. If you are measuring a gap between existing posts/ pillars, we recommend reducing the opening size by 6" (150mm) to allow for hinge/ pins and centre clearance. Gate can be made to any width.Height of Gate: Taken to the highest point of each gate. We recommend allowing a 50mm (2") clearance between the bottom edge of gate and driveway (as long as the drive is level). If you require a more exact height, please contact us to order.
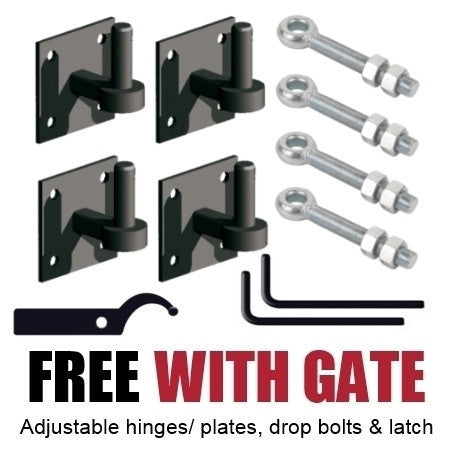
FREE Gate Furniture (hinges etc): 4 x adjustable hinges, hinge pins, latch and drop bolts included with each gate. As standard, the position of the hinge will be 6" (150mm) the bottom edge of gate and 6" (150mm) top edge of gate. If you require these to be different (if for example you already have pins set into a post/ pillar), please call us.
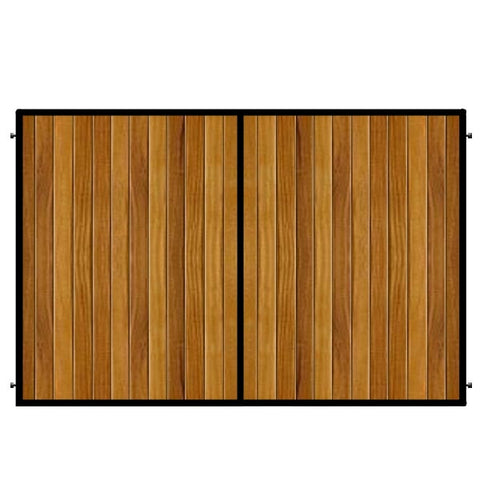
Gate Finish:Choose from our range of finishes we have available. No finish will mean the gate arrives in bare steel ready to be painted on site ,our primer will give the gate the first level of rust protection for your gate then ready to be finished once it arrives, black finish is a fully finished gate which we have primed and then given a finishing coat ready to be hung and enjoyed. We then have the option of galvanising or finishing in any colour of your choice, for these options please call us to discuss further. More info...
Metal Gate Posts: 4" x 4" (100mm x 100mm) or 5" x 5" (120mm x 120mm) supplied to allow the posts to sit in the ground to a depth of 2ft (600mm). The post will arrive cut to size (therefore, if you selected a gate height of 5ft 6", the post length will be 7ft 6"). Hinge pins will be welded on ready and feature post cap fitted.
Size of Gate not listed? No problem, call us with your exact size.
See also: Arundel Garden Gate, Arundel Side Gate
Back to Estate Gates
Working out the required size is an important yet simple task to complete but we are always at hand to assist you through the process (0800 152 2106)
Calculating Estate Gate width between existing Pillars or Posts:
Take three measurements, top, middle and bottom (as below).
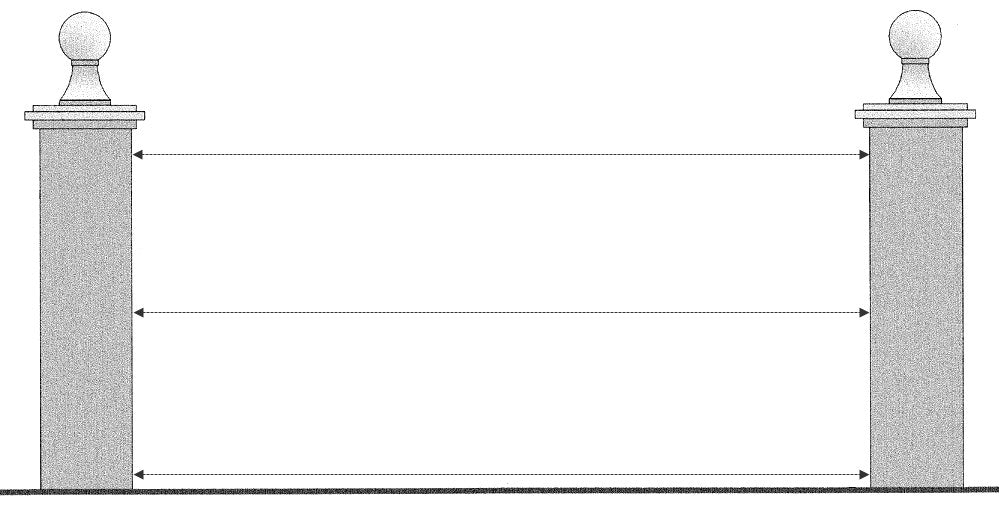
Take the shortest of the three measurements and reduce by 150mm (or 6"). This allows for the hinge (inc pins) and centre opening gap. The final figure will be the actual width of gate required.
For example: Top: 3m 455mm | Middle: 3m 450mm | Bottom: 3m 445mm - shortest measurement would be 3m 445mm - reduce by 150mm = Actual Gate Width of: 3m 295mm
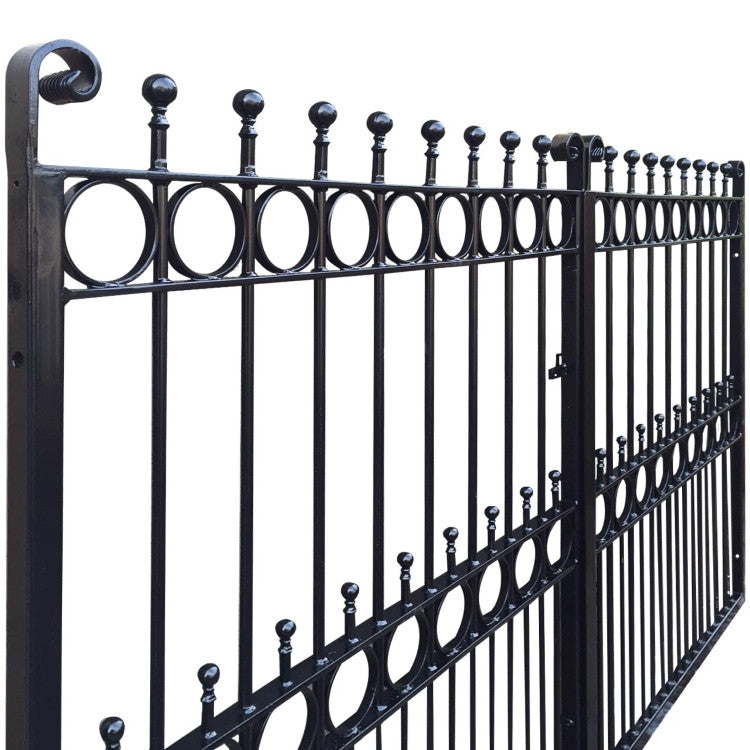
Gates are manufactured using thicker/ deeper material than industry standard. This produces a more durable and higher quality looking product than others.
Hanging Frame: 40mm x 40mm
Bottom Rail: 40mm x 40mm
Top, Middle & Closing Rail: 40mm x 10mm
Main Infill Bars: 16mm
Handcrafted in the UK using time served construction techniques.
Adjustable hinges, pins, drop bolts and opening latch supplied free of charge with each gate.
Back to Estate Gates
UK Delivery (mainland UK only - deliveries to Isle of Wight etc can be arranged but may occur charges) direct to your door...
We strive to delivery all products in the quickest time possible from point of order. Due to all gates and railings being custom made for each customer, we do ask to allow a period of 40 days for delivery, however, over 95% will be delivered within 30 working days. For more accurate delivery times, please call us.
Express Service:
Need to get your product quicker. We do offer an express service for an additional £99 - Please call on 0800 152 2106.
Delivered to your Door:
For larger items a two man delivery team maybe used. Smaller gates will be a one man drop.
Tracking:
To keep delivery charges down, as standard we are only able to provide a delivery day (between 09:00 and 18:00). Pre 10:30am delivery can be arranged but an additional charge will be added.
How to Fit a Metal Driveway Gate
Installing new metal driveway gates is usually more straight forward than expected, and most can be carried out by inexperienced DIYers. The main issue that needs to be checked is ensuring the right size gate width/ height has been ordered.
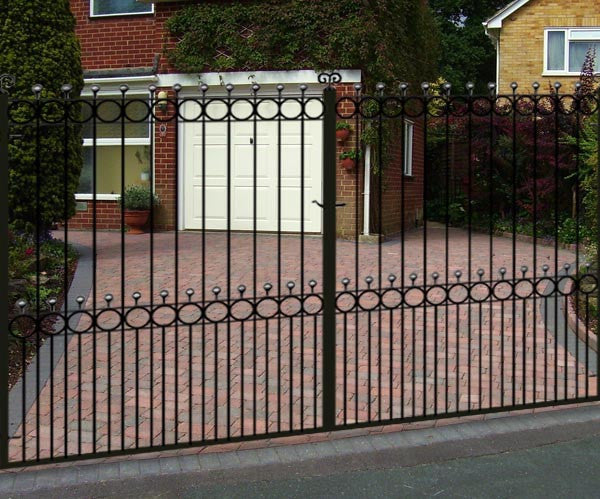
As standard, over 90% of wrought iron driveway gates are installed using the below example:

Basically, the gate is hung between the posts/ pillars and each side will open inwards towards the property.
- First, a clearance is required between ground level and the bottom edge of gate. We recommend allowing 50mm (or 2") on a level drive although this may need to be increased if the driveway raises.The easiest way to do this is by using a straight edge (ie timber) and a level.
- Next depends on whether there are posts/ pillars in place or not. If you need to fit posts, see "How to Fit Posts" for more info.
On exisiting pillars or posts: As standard (if no posts are selected on order), you will receive 4 x hinge plates alongwith 4 x adjustable bolts that connects the gate to the plate.
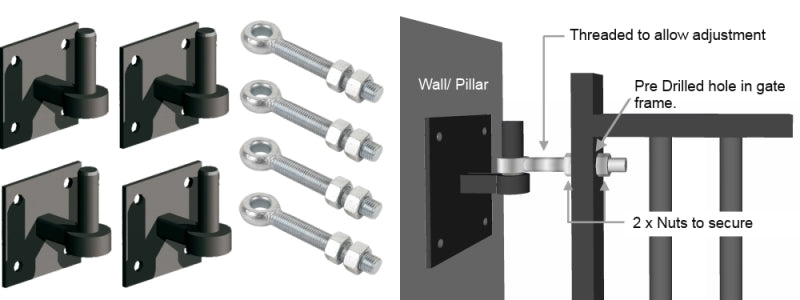
- Use one side of the gate and position it onto the straight edge. Put the silver threaded bar through the top (pre drilled) hole of gate frame (before this, make sure you remove one of the nuts off the threaded bar.)
- Connect the bar to the hinge plate and mark the pillar/ post where the hinge plate needs to be mounted.
Repeat this process for the bottom hinge plate but using a spirit level to ensure the gate is plumb then move on to opposite side. This stage needs to be accurate so spend time to get it right!
- Using a hammer drill, drill the holes. Insert the wall plugs until they are flush with the surface. Fix the 4 hinge plates to the posts/ pillars.
- Connect the four threaded bars to the gate frame and hang. Using the nuts, adjust untill the centre opening gap is approx 10mm. By adjusting either the top or bottom you can get the gates to be level with each other.
- Once complete, put the gates into the closed position and release the two drop bolts (pre attached to gate) and mark the ground. Then, fully open the gates and mark where the drop bolts hit the ground. When happy with the position, drill the four holes. This will allow the gate to be secured in place if open or closed.
Tools Required:
- Spirit Level
- Hammer Drill
- Hammer
- Spanner
- Scewdriver
- Pencil
- Tape Measure


Related Products
Wentworth Estate Gate from
Farnham Estate Gate from
York Estate Gate from
Warwickshire Estate Gate from

Henley Estate Gate from
Stratford Estate Gate from
Sandringham Estate Gate from
Middleton Estate Gate from
Goldsworth Estate Gate from
Francombe Estate Gate from
Cheltenham High Estate Gate from